Creating a ModX website part 1: Add a new theme
published on
In this first section I will show how to start building a website in ModX. Future parts will cover other tasks to develop the site further.
Start with a theme
ModX uses HTML, CSS and JS instead of moving blocks around on a page. Adding a theme is, therefore, a little different to some other CMS'.
To add a theme (or template as ModX calls it) you simply add the necessary resources and copy the HTML into a template in your ModX backend.
Whether you have created the template yourself or you have downloaded it from the web the process is the same.
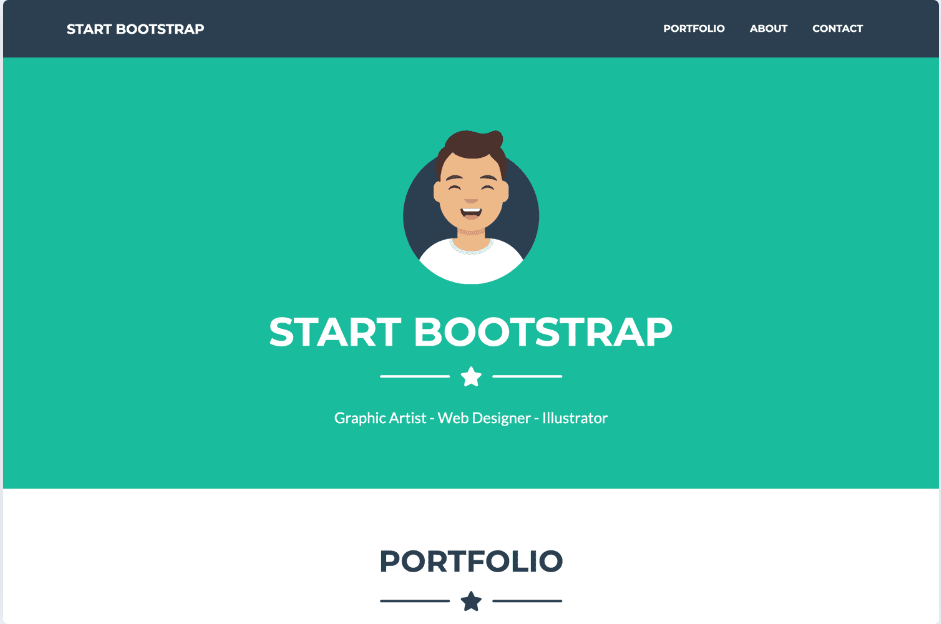
For this post we are going to work with a template which has already been created and is freely available on the web. To download it visit https://startbootstrap.com/ and scroll down until you see the following image:

Click on the image and then click on Free Download.
Adding the theme to ModX
Open your browser and visit the manager login page for your ModX installation. Once you are logged in we need to upload some files.
To find those files uncompress the theme ZIP file you downloaded earlier. You will see three folders - assets, css and js - and an index.html file.
Uploading the assets
Unfortunately ModX doesn't allow you to upload folders so we have to create them first then upload the contents into them.
On the top - left of your ModX installation you will see three tabs - Resources, Elements and Files. Click on Files then right - click on the assets folder and select Create Directory Here. Type in css and click Save. Do the same for the js folder.
Next, create another folder called img in the same way. The theme we downloaded has an img folder inside of the assets folder but we don't want an assets folder inside of the existing one. The img folder also contains a portfolio folder so you will need to create this too.
To create a folder inside another one just right-click on the folder that you wish to add a new folder to and choose Create Directory Here.
Now upload all the files found in the folders in the theme ZIP file into the relevant places in your ModX installation. Do not upload the HTML file yet.
To upload files right - click on the folder you wish to upload to and choose Upload Files.
Adding the HTML template
Anything added to the Files tab is a file that will be provided as-is. No changes are made to these files. This is why we do not add the HTML files in this way.
Any HTML templates need to be able to be modified and see we must have another way to add them.
In order to add our HTML template (the index.html file) we now move to our Elements tab and click on the BaseTemplate (1) line under Templates.
The BaseTemplate is where the template for your main page goes. The number in brackets is an ID that can be used in references later on if necessary.
Remove what is already in the Template Code (HTML) section, open up the index.html file found in the theme and copy it's contents into the Template Code (HTML) section.
The CSS and JS has been saved in a different place than the one referenced in the HTML you just copied. If you were to view your site now it would not display correctly.
To fix this find the line that looks like <link href="css/styles.css" rel="stylesheet" /> in the code copied into ModX and change it to look like <link href="assets/css/styles.css" rel="stylesheet" /> (in other words add assets/ to the start of the path).
Near the bottom of all of that code you will also find a line that looks like <script src="js/scripts.js"></script>. Add the assets/section to the beginning of the path and finally click on Save in the top - right - hand corner.
If you view your site now (either by visiting the domain in your browser or by clicking on the eye icon in the top - left next to the phrase MODX Revolution you will see that you now have a working site.
Next steps
So far you should have a site that worked just as well as the static HTML, CSS and JS did. Obviously this isn't much of an improvement but I will cover what to do next in the second part.
